For anyone beginning their journey into cryptocurrency, setting up a secure hardware wallet is the most important step. That’s where this Step-by-Step Guide to Installing Trezor.io/Start comes in. Trezor.io/Start is the official onboarding page that walks you through the setup process for Trezor hardware wallets like the Trezor Model One and Trezor Model T. By following this Step-by-Step Guide to Installing Trezor.io/Start, you’ll learn how to get your device ready, install Trezor Suite, and secure your crypto safely.
The crypto industry can feel overwhelming, especially for newcomers. That’s why a Step-by-Step Guide to Installing Trezor.io/Start is essential. This guide ensures you don’t miss any critical steps when securing your wallet, such as setting up recovery seeds or verifying your device’s authenticity. With so many scams and risks in the digital world, following a clear Step-by-Step Guide to Installing Trezor.io/Start gives you the confidence to manage your digital assets securely.
Before beginning, gather everything you need for this Step-by-Step Guide to Installing Trezor.io/Start:
By preparing these essentials, you’re ready to begin the Step-by-Step Guide to Installing Trezor.io/Start with ease.
The first part of the Step-by-Step Guide to Installing Trezor.io/Start is unboxing your hardware wallet. Trezor packages are sealed to protect against tampering. Inspect the box for authenticity before opening. Inside, you’ll find the device, USB cable, instructions, and recovery seed cards. Ensuring your package is untampered with is the foundation of this Step-by-Step Guide to Installing Trezor.io/Start.
Once unboxed, the Step-by-Step Guide to Installing Trezor.io/Start directs you to connect the device to your computer. Plug the Trezor hardware wallet in using the provided USB cable. Your computer should recognize the device, and you’ll be ready to move to the next part of the Step-by-Step Guide to Installing Trezor.io/Start.
The next step in the Step-by-Step Guide to Installing Trezor.io/Start is navigating to the official onboarding page. Open your browser and type Trezor.io/Start. This ensures you’re using the official, secure setup portal. Avoid third-party links, as the Step-by-Step Guide to Installing Trezor.io/Start emphasizes security from the very beginning.
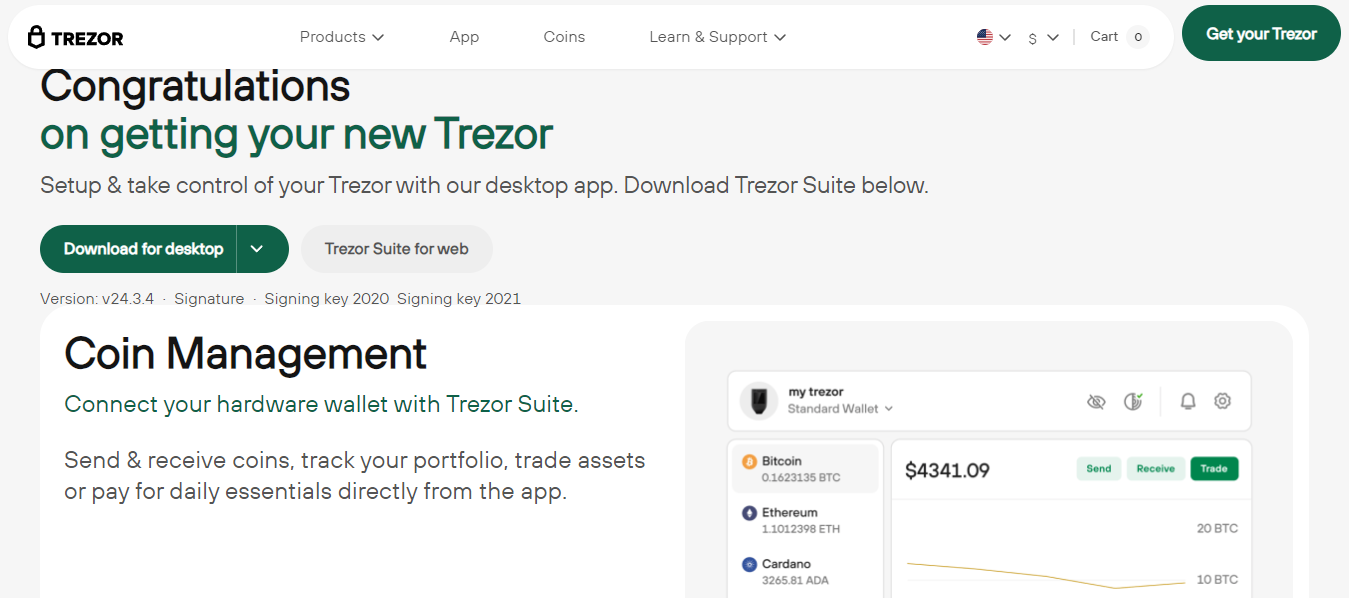
After reaching the site, the Step-by-Step Guide to Installing Trezor.io/Start instructs you to download Trezor Suite, the desktop application that works with your hardware wallet. Trezor Suite is available for Windows, macOS, and Linux. By installing it, you gain access to the dashboard where you’ll manage accounts, send and receive funds, and explore advanced tools. This installation is a vital stage of the Step-by-Step Guide to Installing Trezor.io/Start.
A key part of the Step-by-Step Guide to Installing Trezor.io/Start is ensuring your device has the latest firmware. Firmware updates provide new features and patch security vulnerabilities. The site and Trezor Suite will prompt you if an update is required. Updating firmware through this Step-by-Step Guide to Installing Trezor.io/Start guarantees your wallet remains safe and up to date.
Once your firmware is ready, the Step-by-Step Guide to Installing Trezor.io/Start moves to wallet creation. On your device, you’ll be asked whether to create a new wallet or recover an existing one. Choosing “Create new wallet” will generate a unique recovery seed, which is the most critical aspect of the Step-by-Step Guide to Installing Trezor.io/Start.
Perhaps the most important part of the Step-by-Step Guide to Installing Trezor.io/Start is writing down your recovery seed. This sequence of words is your ultimate backup in case your wallet is lost or damaged. The Step-by-Step Guide to Installing Trezor.io/Start insists you write it down on paper, store it offline, and never take photos or digital copies. This step ensures your crypto remains secure no matter what.
Another essential step in the Step-by-Step Guide to Installing Trezor.io/Start is creating a PIN. The PIN protects your device from unauthorized access. Without the correct PIN, no one can access your wallet even if they have the hardware. This layer of protection is emphasized in the Step-by-Step Guide to Installing Trezor.io/Start as part of your device’s security.
Now that your wallet is created, the Step-by-Step Guide to Installing Trezor.io/Start moves to adding accounts. Using Trezor Suite, you can add accounts for Bitcoin, Ethereum, and other supported cryptocurrencies. These accounts let you track balances, transactions, and portfolio performance. Including account setup in the Step-by-Step Guide to Installing Trezor.io/Start makes portfolio management simple and secure.
Managing transactions is also covered in the Step-by-Step Guide to Installing Trezor.io/Start. To receive, generate an address in Trezor Suite and verify it on your device’s screen. To send, input the recipient’s address, the amount, and confirm on your Trezor device. This ensures every action is secure and verified, reinforcing why the Step-by-Step Guide to Installing Trezor.io/Start is so valuable.
Beyond basics, the Step-by-Step Guide to Installing Trezor.io/Start also highlights advanced features. Trezor Suite allows you to:
These advanced capabilities show that the Step-by-Step Guide to Installing Trezor.io/Start isn’t just for beginners but also supports advanced users.
Sometimes issues arise, which is why the Step-by-Step Guide to Installing Trezor.io/Start includes troubleshooting. Common issues include:
By covering these, the Step-by-Step Guide to Installing Trezor.io/Start ensures users are prepared for common problems.
The final part of the Step-by-Step Guide to Installing Trezor.io/Start shares best practices:
These practices make the Step-by-Step Guide to Installing Trezor.io/Start a long-term resource for safe crypto management.
In summary, this Step-by-Step Guide to Installing Trezor.io/Start explains everything from unboxing to securing your crypto portfolio. By carefully following each step, you ensure your digital assets remain under your control and protected from threats. The Step-by-Step Guide to Installing Trezor.io/Start is more than just instructions—it’s the gateway to confident and secure cryptocurrency ownership.
This Step-by-Step Guide to Installing Trezor.io/Start is for educational purposes only and should not be considered financial or investment advice. Always do your own research and take responsibility for your cryptocurrency management.